See the first in this series
HERE.
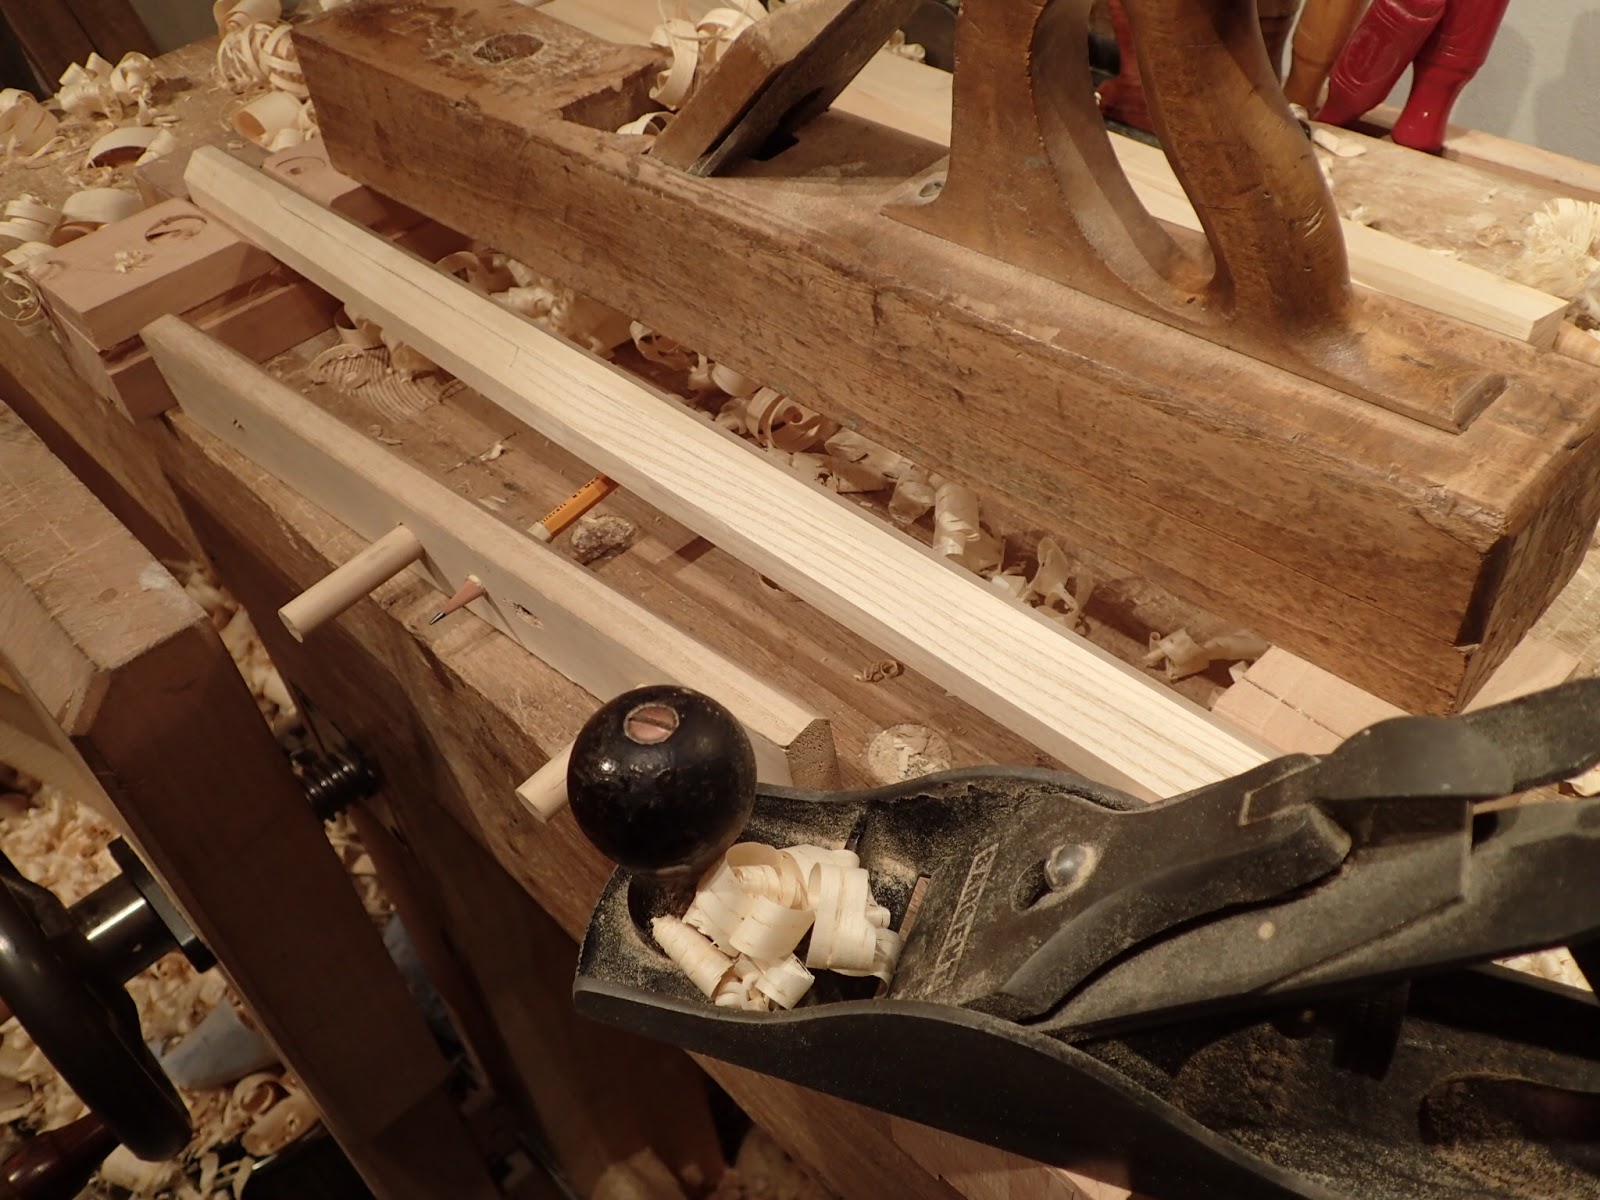
In my opinion the most important part in this chair is ensuring the grain runs from one end of each stretcher to the other as straight as possible. Ripping the stretchers out with a handsaw (or a bandsaw) makes this easy, as long as the lumber is straight.
My problem was the lumber I had wasn't quite wide enough to rip enough square pieces at 1 1/4", and then taper them down to one inch on the ends for the nice tapered cigar shape. However, I could get one inch on the ends that spread out to 1 1/4" in the middle. Perfect! Half done already.
After that, it was short work with a jack plane to taper the other ends of the sticks. All four are 1 1/4 inch in the center, and one inch at the ends.
 |
| A funny shape that really isn't necessary, but cool nonetheless. |
Next it is just a matter of making squares into octagons. I found some joiner's saddles that I forgot I made years ago, and they worked perfectly to cradel the sharp corner up so it could easily be planed off.
I hogged off most of the wood with a wooden jack, then finished the cut with my smooth plane.
 |
| This photo also shows Olav's trick octagon marking tool. |
Each corner required planing up one side and another swipe down the far side. I wanted to maintain the hump in the middle.
 |
| Here's a closer look at the setup. Ignore the circle on the joiner's saddle. I must have used it as a backing board at some point. |
The trick with making even octagons is to mark it out with Olav's magic tool, but not get too precise with planing to the line. Once you get close, finish it off by eye.
 |
| In short order they were done. |
Now for the tapered tenons. This is easy with a tapered tenon cutter like the Veritas model. It would be a little easier to rough out the shape on the lathe, and then use it to finish. I am not using a lathe, so using this from the start is the only way. It is easy to get off line, leaving a tenon that points the wrong way, so some care must be taken to keep it centered.
 |
| Big pencil sharpener. |
This was actually much easier than shaping the legs.
Now for my prefered method of tapering the mortices: with a brace.
 |
| I have found this is just as good as a drill press, perhaps even better. |
I think that using a drill press for this prevents making adjustments that are needed to ensure a perfect mortice. As long as you keep your chin on the brace, you will be mostly straight.
Once I get close to the bottom, I set up a square and check to make sure everything is perfect. If it is not (it rarely is), small adjustments correct the problem. Stop when you get to the bottom of the mortice, unless it isn't straight. Another turn might be all it takes to fix it.
 |
| Dead-nuts perfect. Just make sure it is clamped square to the bench top. |
Now I can finish shaping the legs. I mark centers at all of the tops.
 |
| This tool isn't strictly necessary, but I find myself using it all the time. |
Once this is done, I can use a compass to define the roundovers.
 |
| X marks the spot. |
I roughly cut the 45 (or so) degree angle by eye,
 |
| Just don't cut past the line! |
and use a rasp to bring the rest down to the line.
 |
| Easy peasy. |
You guys are going to love the next part. It involves a blow torch.
Finished Chair
Part I
Part II
Part III
Part V
Part VI
Part VII


No comments:
Post a Comment